This is brief overview on how to enable the mic on TeamViewer for both Windows and Mac.
Windows
Method 1)
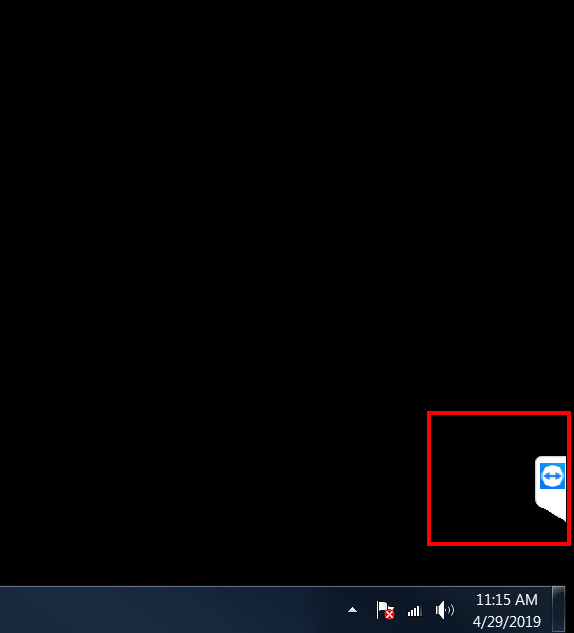
Expand the ‘mini’ TeamViewer window
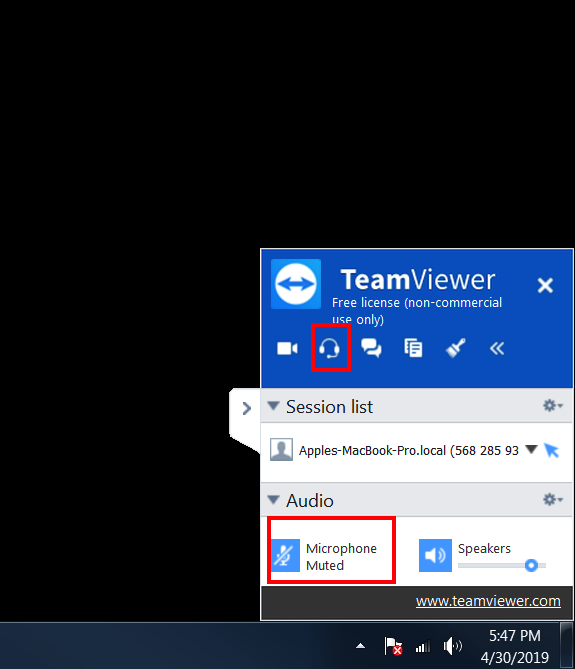
Click on Headphones then under Audio click on the crossed out mic
Method 2)
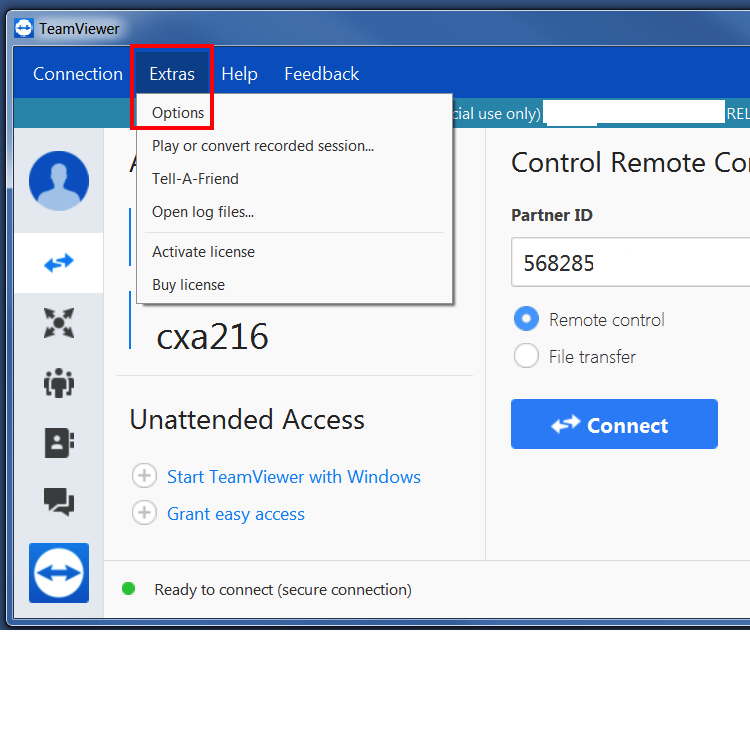
Open the larger TeamViewer window then click on Extras then Options
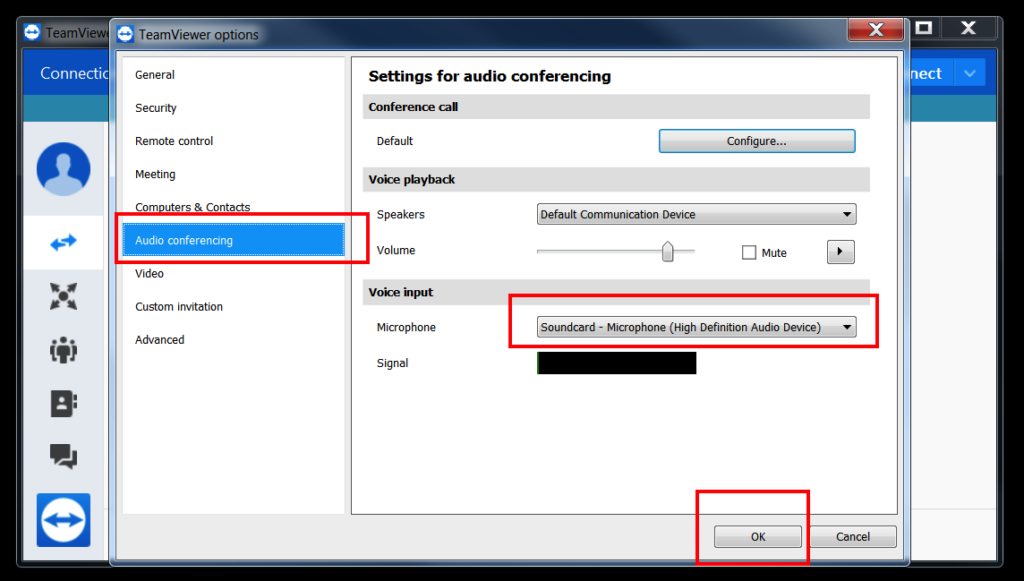
Select Audio conferencing on the left then select the right Microphone under Voice input
MAC
Method 1)
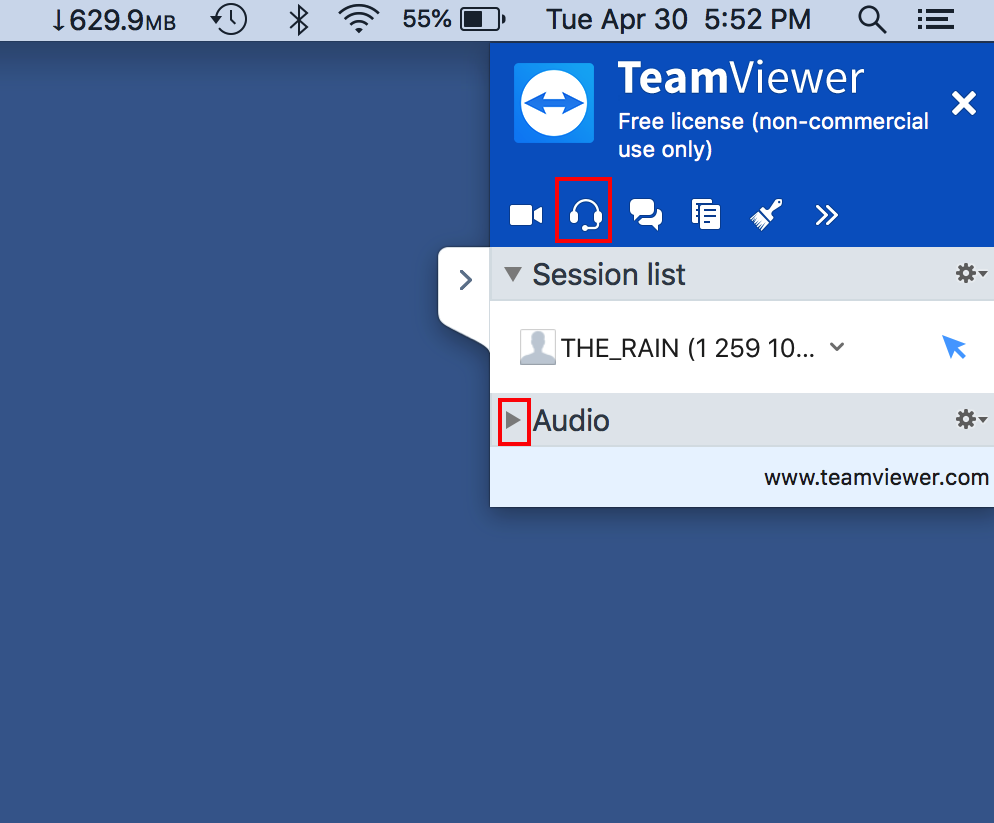
Expand the ‘mini’ TeamViewer window

Click on the headphones icon then click on the Audio arrow to see more options
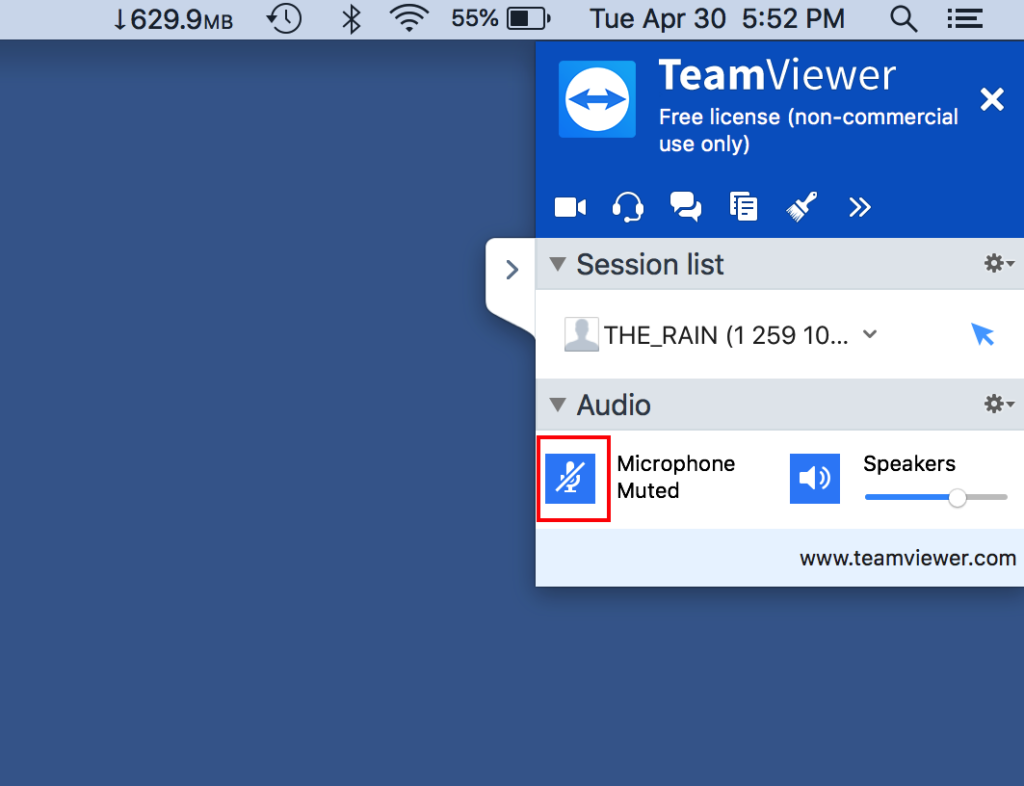
Click on the crossed out mic symbol
Method 2)
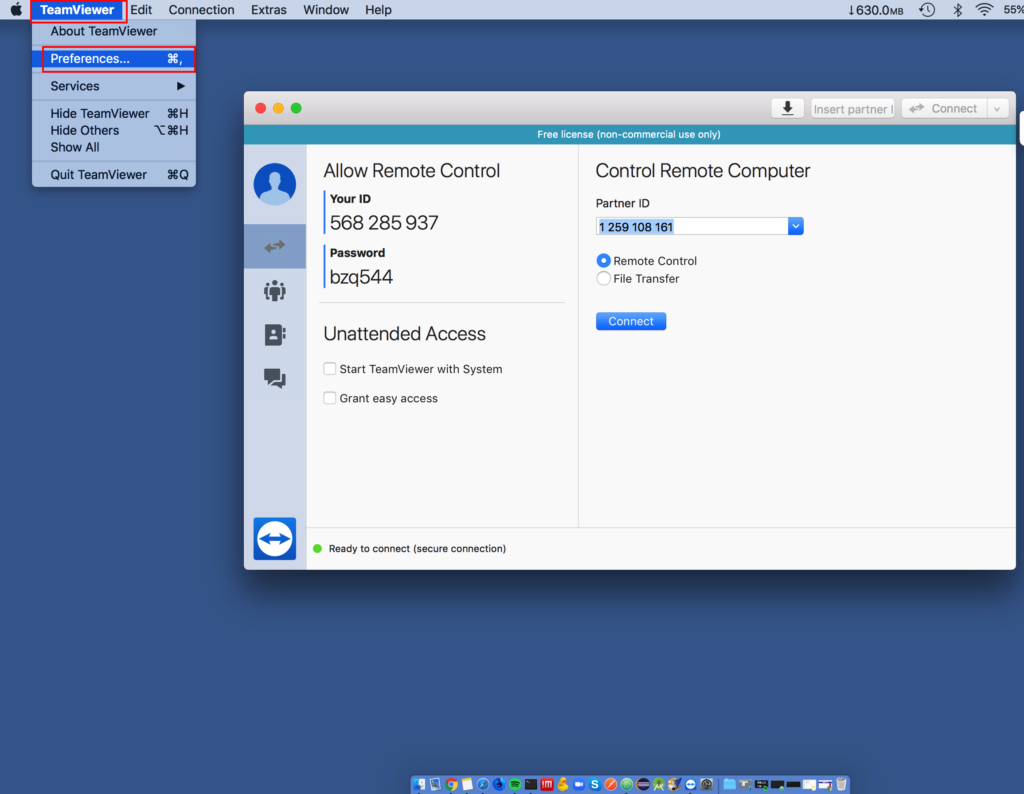
Open up the larger TeamViewer window. Select TeamViewer then Preferences…
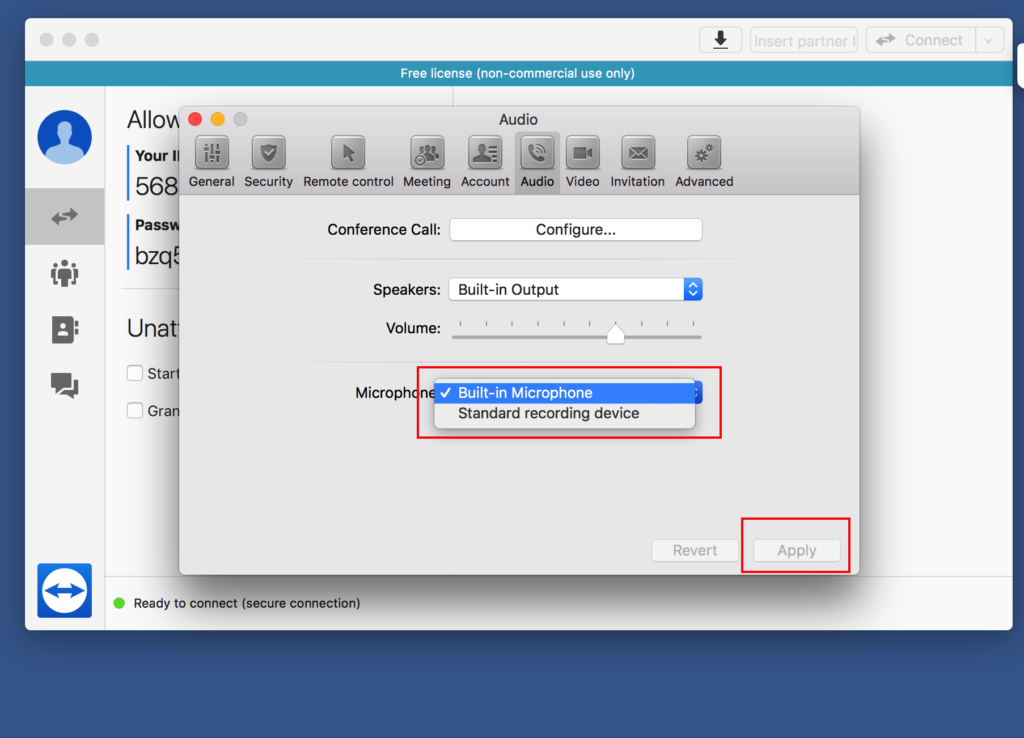
Click on the Audio button then select the correct microphone and the hit Apply
That’s it.
Happy Learning!
Leave a Reply