Here is what I did to be able to send web push notification to users on my site who accepted receiving them.
I found Airship’s documentation site slightly on the confusing side although the following page was helpful.
https://docs.airship.com/platform/web/getting-started/
I followed the instruction and got it to work on on a site with a secure https protocol and using a Chrome browser. I have not tested it on localhost.
Step 1) Airship Account Sign Up
You need an account. It’s free. So sign up here:
https://go.urbanairship.com/accounts/register/plan/starter/
Step 2) Set Up a Test of Live Environment – Create Project
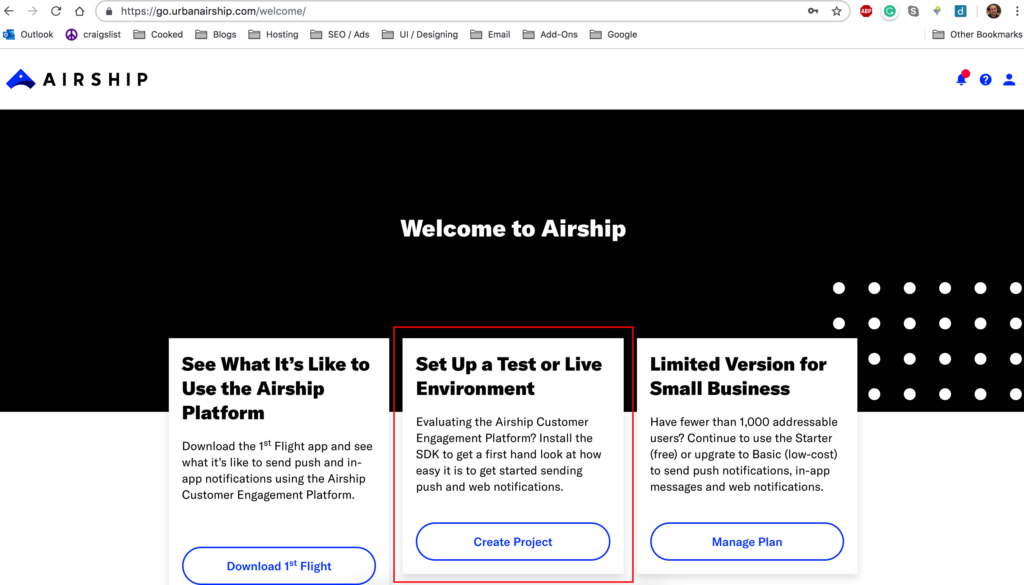
In the email they sent you there is a link to confirm your account. Once you do it will take you to the following screen. Click on the ‘Create Project ‘ option.
Fill Out Form
This part is pretty straightforward and you can’t make a mistake. For the 3rd option I picked ‘Live’ instead of the ‘Test’.

Click ‘Create Project’ when done.
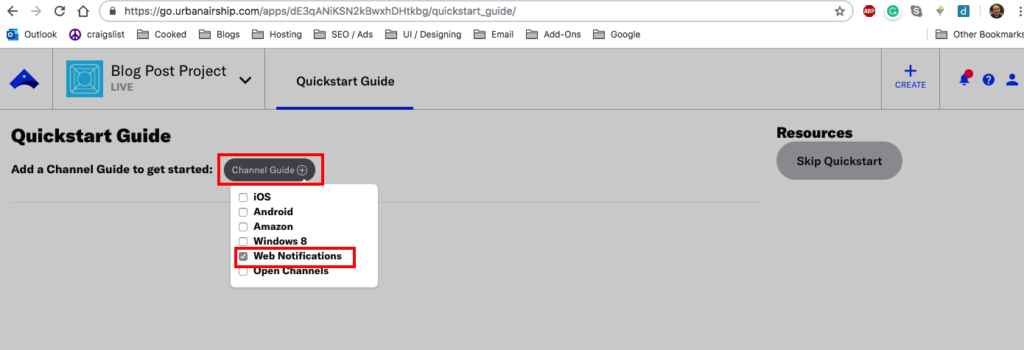
Step 3) Channel Guide
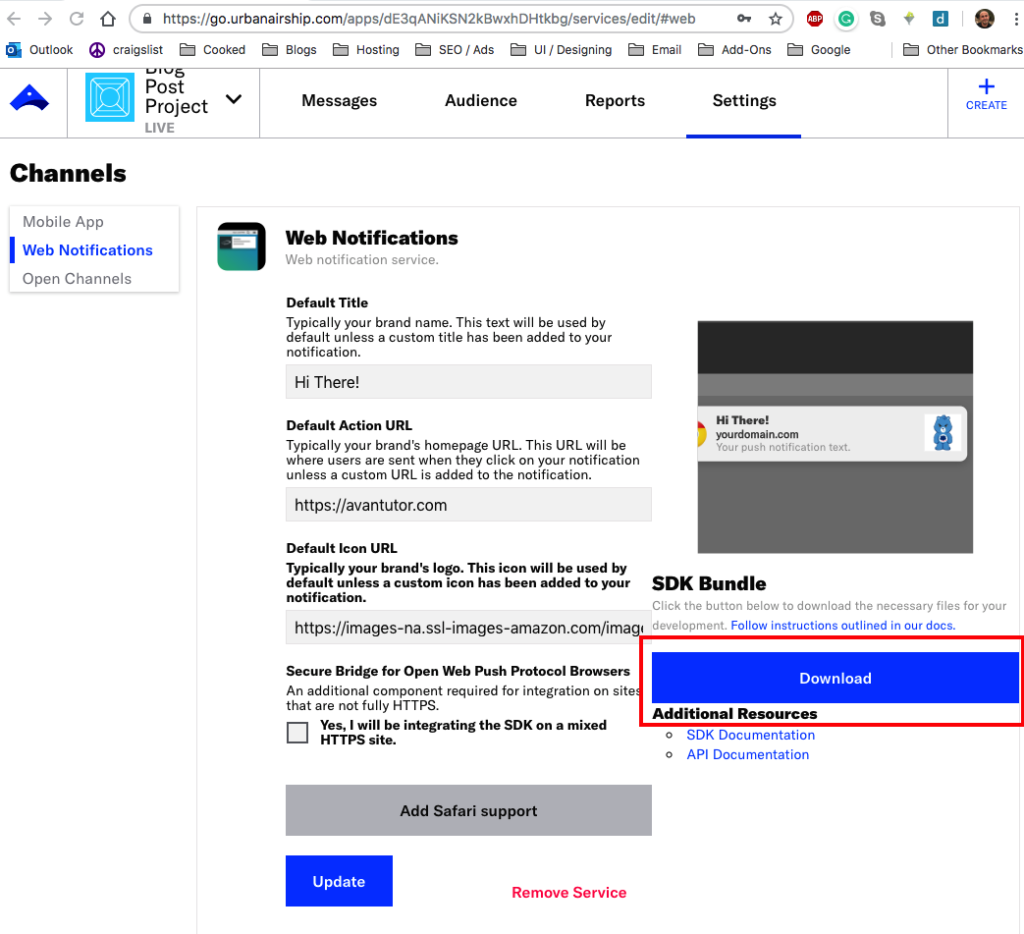
On the next page click on ‘Channel Guide +’ then ‘Web Notifications’
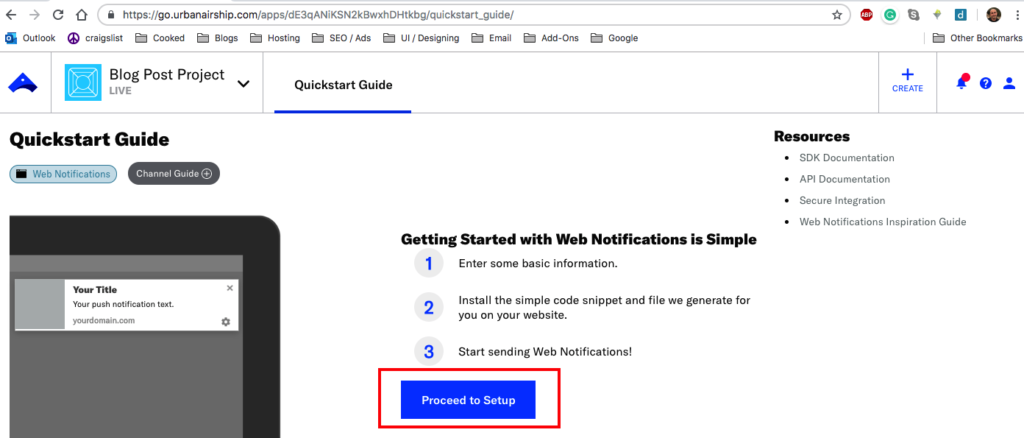
Click on ‘Proceed to Setup’
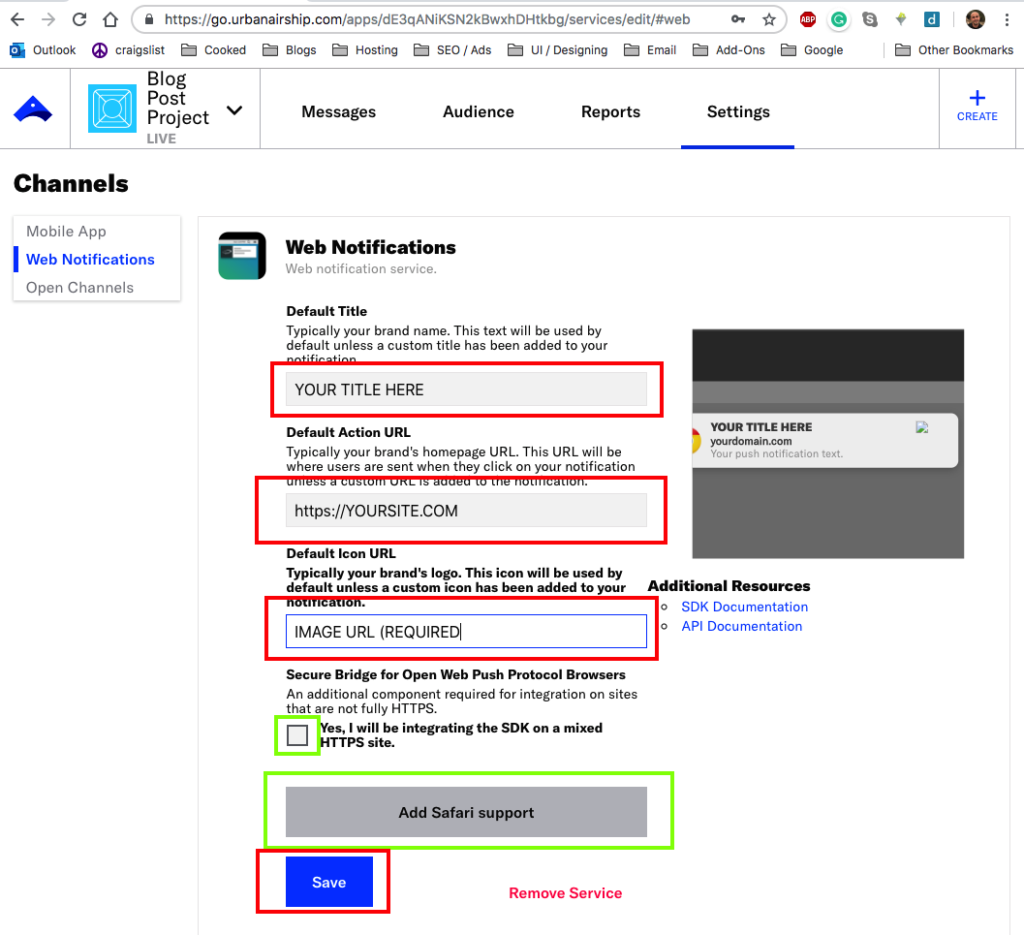
Fill out all the fields. Enter an image URL for the image part. I DID NOT select the ‘mixed HTTPS site’ or the ‘Add Safari support’
Download Files
Step 4) Install Code
Download the files and unzip them.

Copy all the code inside ‘snippet.html’ and paste it into the head of EVERY PAGE of your site. Code below is just an example. DON’T COPY and paste that one. Copy and paste your downloaded version instead.
<script type="text/javascript">
!function(n,t,c,e,u){function r(n){try{f=n(u)}catch(n){return h=n,void i(p,n)}i(s,f)}function i(n,t){for(var c=0;c<n.length;c++)d(n[c],t);
}function o(n,t){return n&&(f?d(n,f):s.push(n)),t&&(h?d(t,h):p.push(t)),l}function a(n){return o(!1,n)}function d(t,c){
n.setTimeout(function(){t(c)},0)}var f,h,s=[],p=[],l={then:o,catch:a,_setup:r};n[e]=l;var v=t.createElement("script");
v.src=c,v.async=!0,v.id="_uasdk",v.rel=e,t.head.appendChild(v)}(window,document,'https://web-sdk.urbanairship.com/notify/v1/ua-sdk.min.js',
  'UA', // This value can be changed to use a custom variable name.
  {
  appKey: 'YOUR-APP-KEY',
  token: 'BEARERTOKEN-FROM-UA',

  // Safari Web Push only
  websitePushId: 'WEBSITE-PUSH-ID-FROM-UA',
  // Open Web Push Protocol only.
  vapidPublicKey: 'WEB-PUSH-KEY-FROM-UA',
  // Only needed when used on insecure hosts:
  secureIframeUrl: 'https://your.secure.domain/path/to/web-push-secure-bridge.html'
  })
</script>
Now copy the ‘push-worker.js’ into your web ROOT directory. Be aware that sometimes the web root inside of another folder. They could be called ‘web’ or ‘public_html’. You can try moving (not copying) it around and see which directory works for you.
Step 5) Register your Service Worker File
Service worker Javascript registration code:
UA.then(function(sdk) {
  sdk.register() // Returns Channel object
})
I don’t know if the following is the best location for the service registration code but here is where I placed it. Namely right before the (pasted) script closing tag of the snippet.html code. Feel free to add it else where. So this is how my snippet.html code snippet looks like now. So if you have already pasted the snippet.html into the heads of every page go back and add the service registration code.
<script type="text/javascript">
!function(n,t,c,e,u){function r(n){try{f=n(u)}catch(n){return h=n,void i(p,n)}i(s,f)}function i(n,t){for(var c=0;c<n.length;c++)d(n[c],t);
}function o(n,t){return n&&(f?d(n,f):s.push(n)),t&&(h?d(t,h):p.push(t)),l}function a(n){return o(!1,n)}function d(t,c){
n.setTimeout(function(){t(c)},0)}var f,h,s=[],p=[],l={then:o,catch:a,_setup:r};n[e]=l;var v=t.createElement("script");
v.src=c,v.async=!0,v.id="_uasdk",v.rel=e,t.head.appendChild(v)}(window,document,'https://web-sdk.urbanairship.com/notify/v1/ua-sdk.min.js',
  'UA', // This value can be changed to use a custom variable name.
  {
  appKey: 'YOUR-APP-KEY',
  token: 'BEARERTOKEN-FROM-UA',

  // Safari Web Push only
  websitePushId: 'WEBSITE-PUSH-ID-FROM-UA',
  // Open Web Push Protocol only.
  vapidPublicKey: 'WEB-PUSH-KEY-FROM-UA',
  // Only needed when used on insecure hosts:
  secureIframeUrl: 'https://your.secure.domain/path/to/web-push-secure-bridge.html'
  })

// ADDED -- REGISTER SERVICE WORKER
UA.then(function(sdk) {
  sdk.register() // Returns Channel object
})

</script>
Step 6) Make Sure you Can Receive Web Notifications in Chrome (on Mac OS X)
There are two places where I would make sure you have web notifications enabled. One is at the browser (Chrome) level and the other is on the Operating System level (MAC OS X)
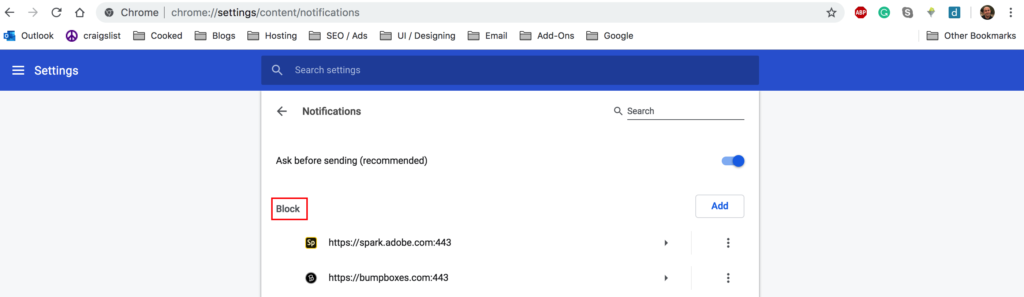
In Chrome
Go to: chrome://settings/content/notifications and make sure your site is not on the blocked list
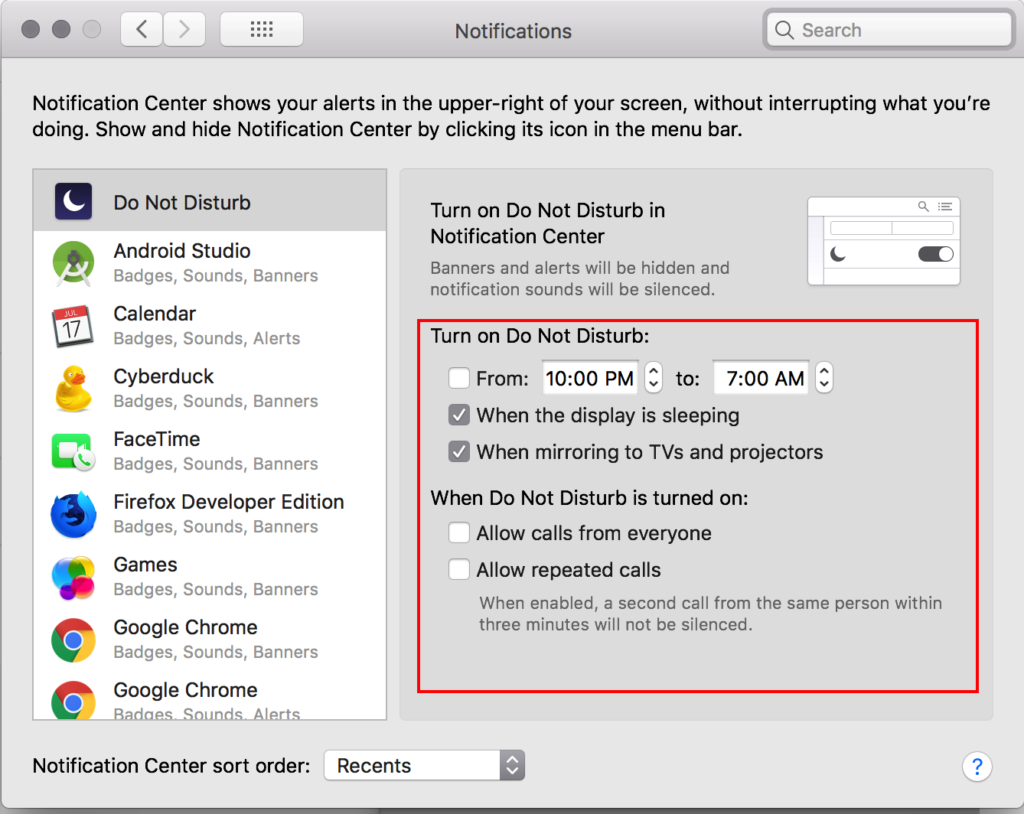
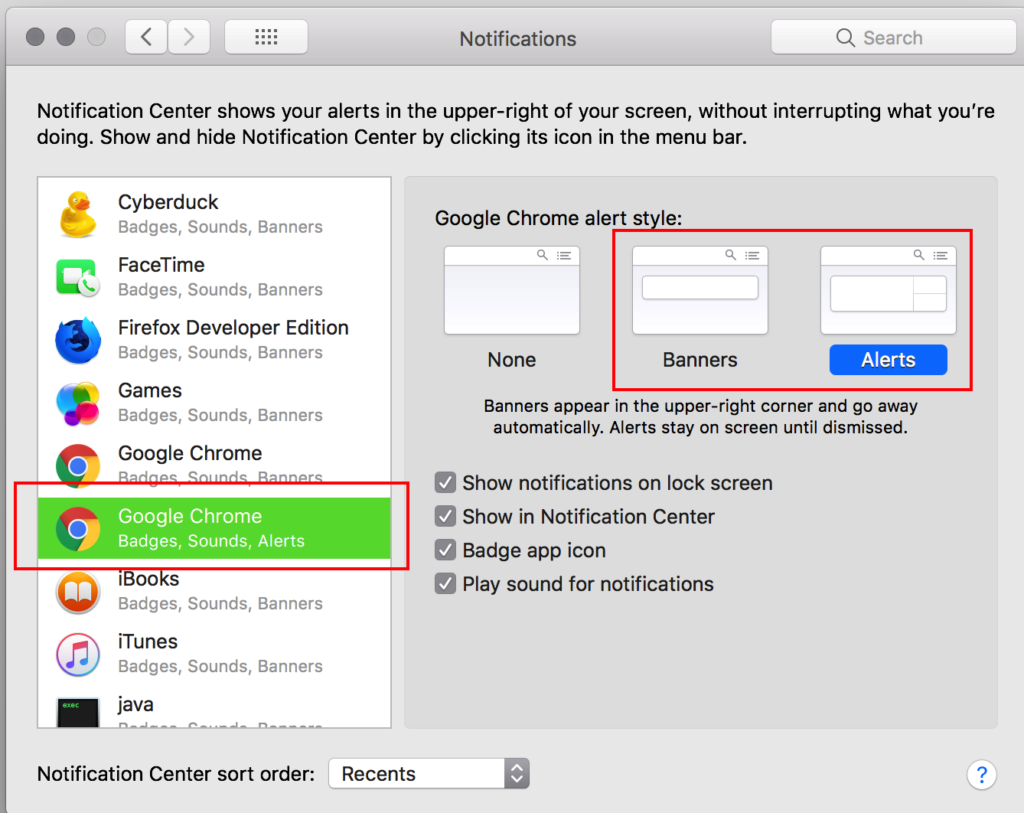
In Mac
Go to Mac notification settings
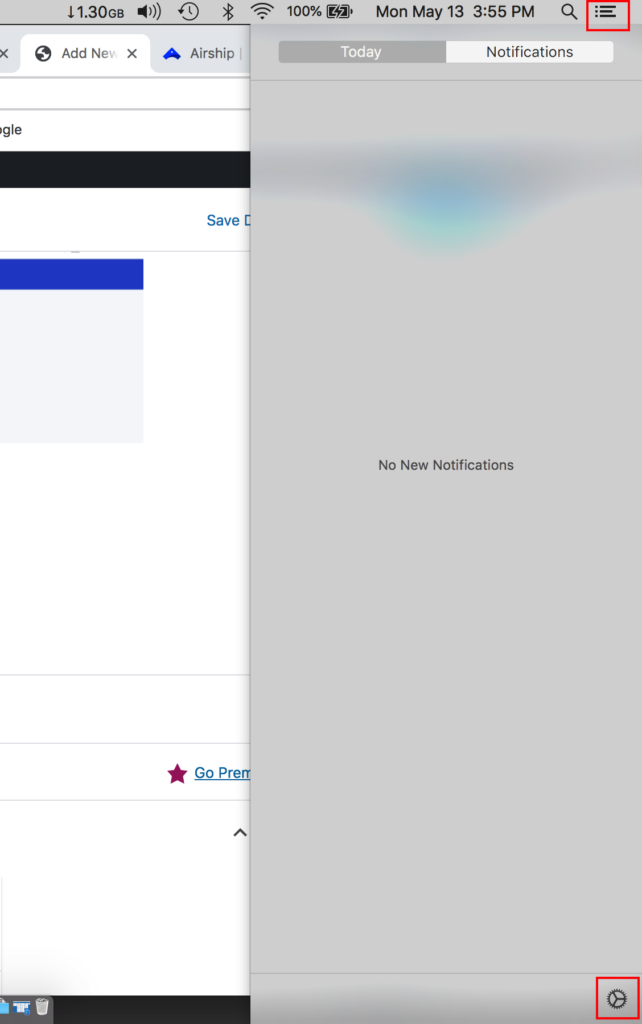
Verify the general and chrome notifications settings
Re-Load Your Page
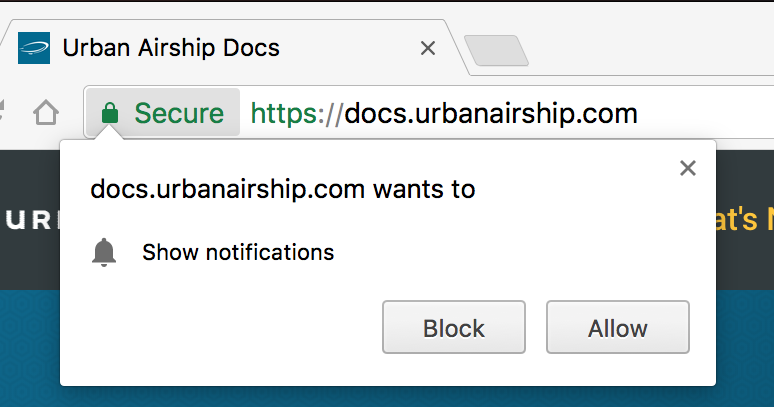
Now re-load your page in chrome (not in incognito). If everything went well you should receive a prompt message asking you if you would like to receive push notifications.
If you did not receive such a prompt I would recommend checking your server logs and browser console.
Step 7) Send a Test Message
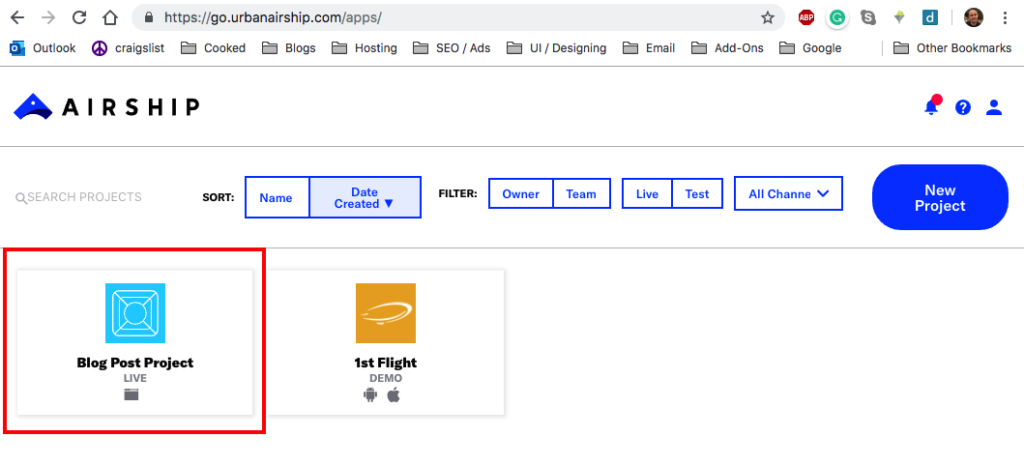
Login into your Airship dashboard if you don’t have it up already: https://go.urbanairship.com/apps/
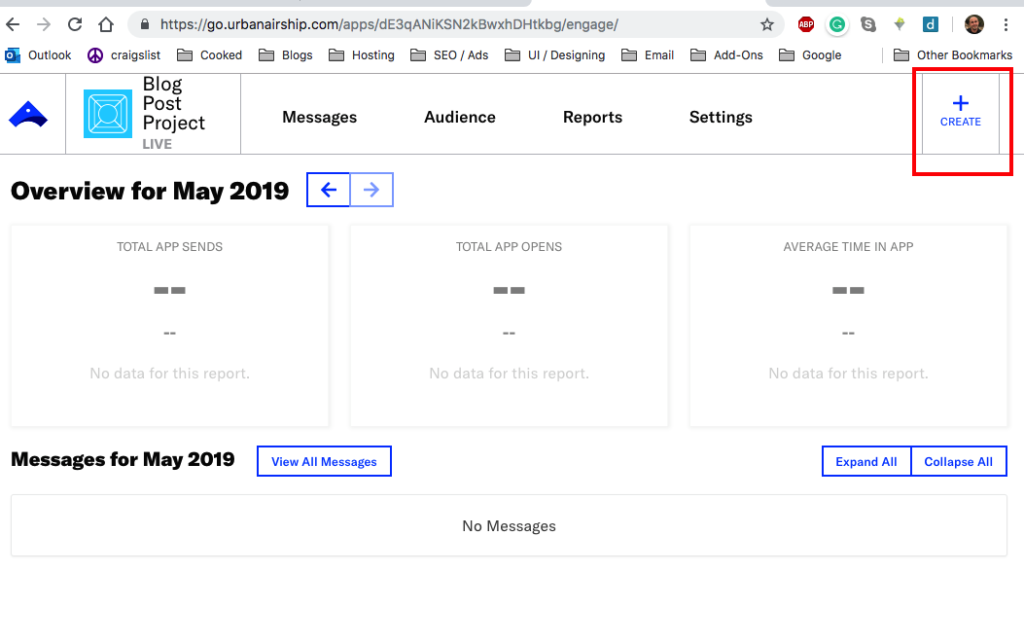
Select the project you created earlier. In my case I called it ‘Blog Post Project’
Click ‘+ Create’
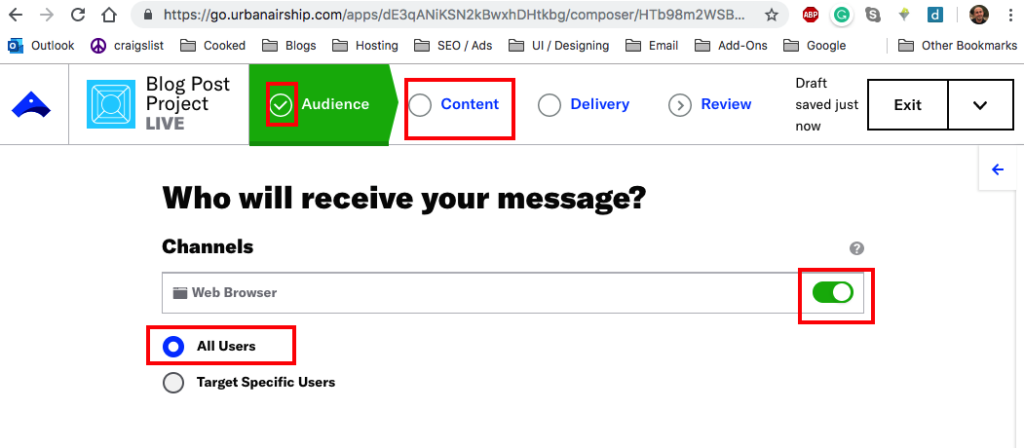
Select ‘All Users’ Move on to Content
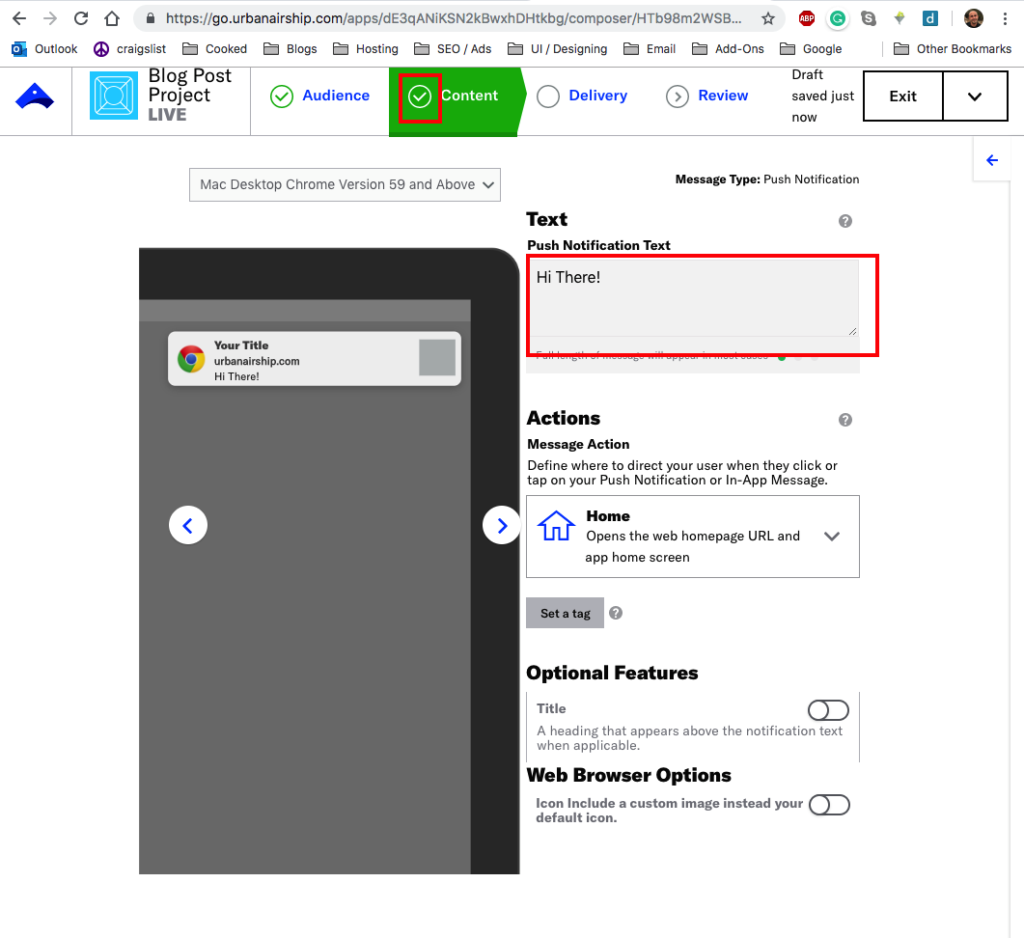
Fill in the text area with the message you would like to send
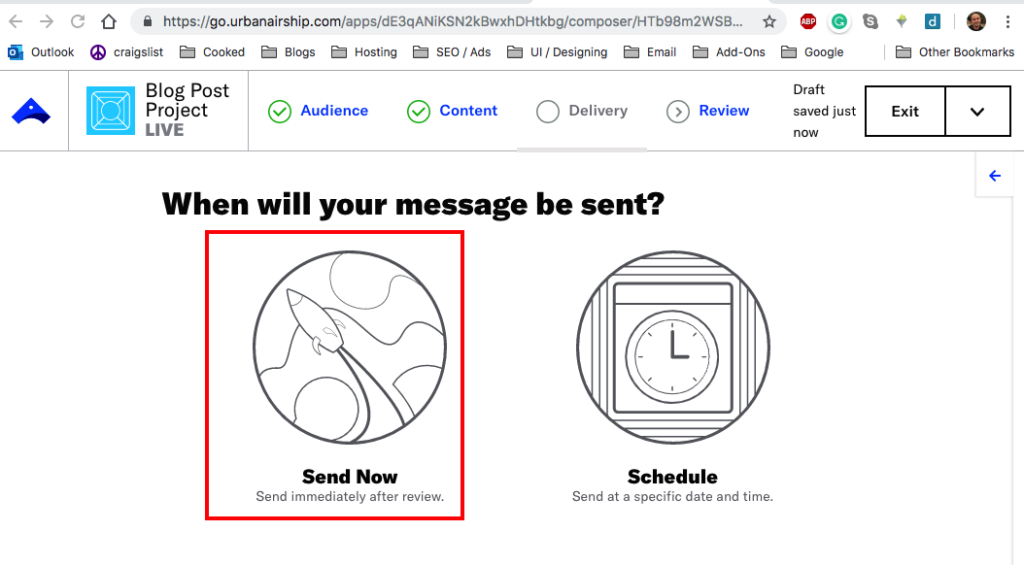
Select ‘Send Now’
Goto ‘Review & Send’
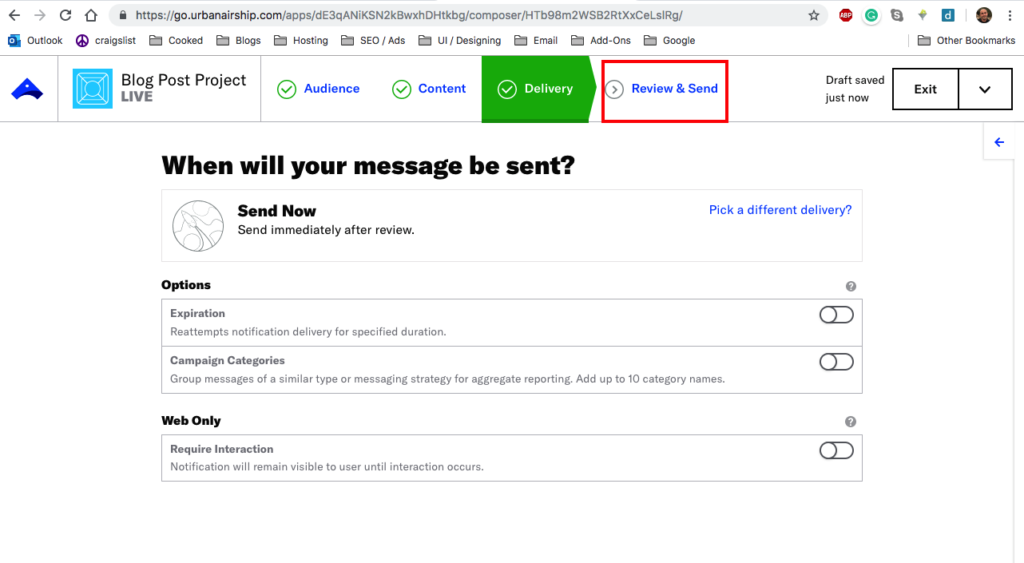
Click on the large ‘Send Message’ box at the bottom right of the page.
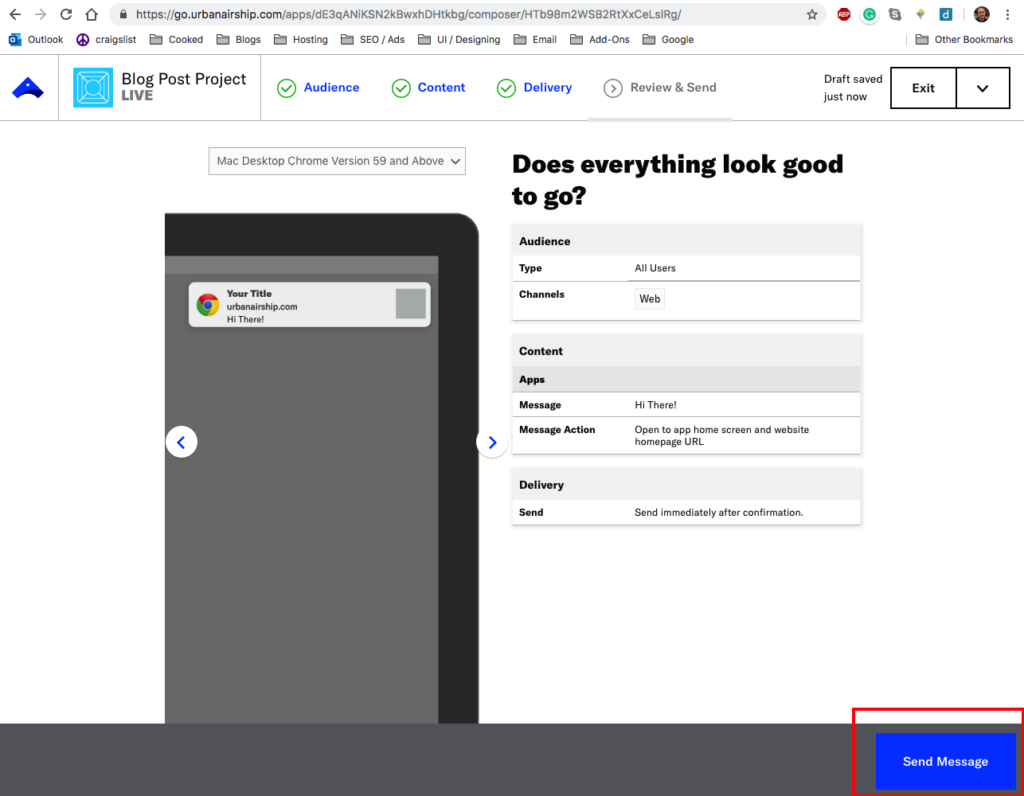
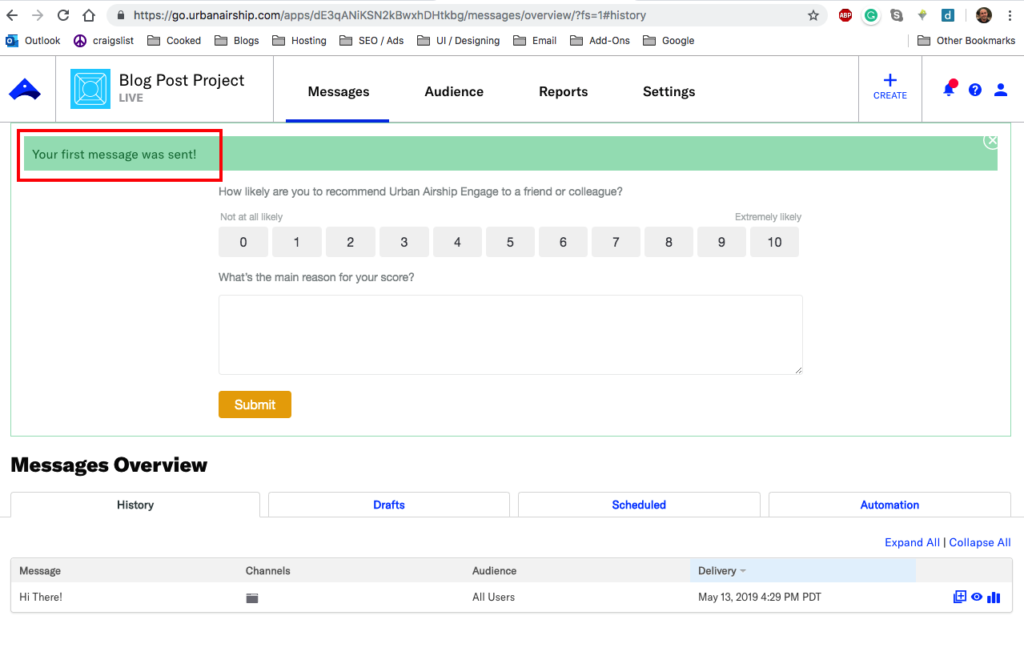
Voila!
Leave a Reply